SupportPal Tickets
This article may be outdated
For efficient and quick communication between University PC Care and its customers, we use SupportPal as a Ticket/HelpDesk software. Understanding how to properly and efficiently navigate SupportPal and its integrations with PCRT is crucial to a smooth workflow.
SupportPal is hosted on a University PC Care-owned server and can be accessed from anywhere on the web at https://universitypccare.support. The landing page of this URL for customers and employees alike will look something like Fig. 1 below.
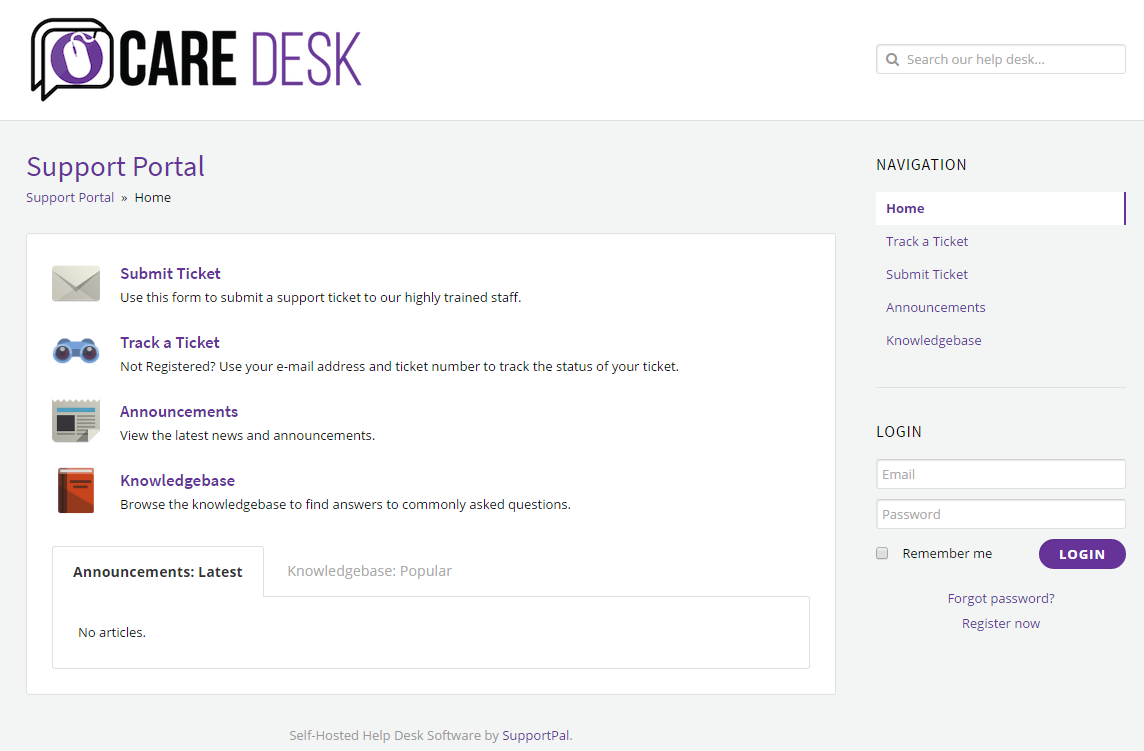
| Fig. 1: SupportPal landing page |
Logging In
If you do not currently have a login for the ticketing system, contact hr@universitypccare.com to request an operator login. Once you are logged in, you will be shown the default ticket view, which will be explained below:
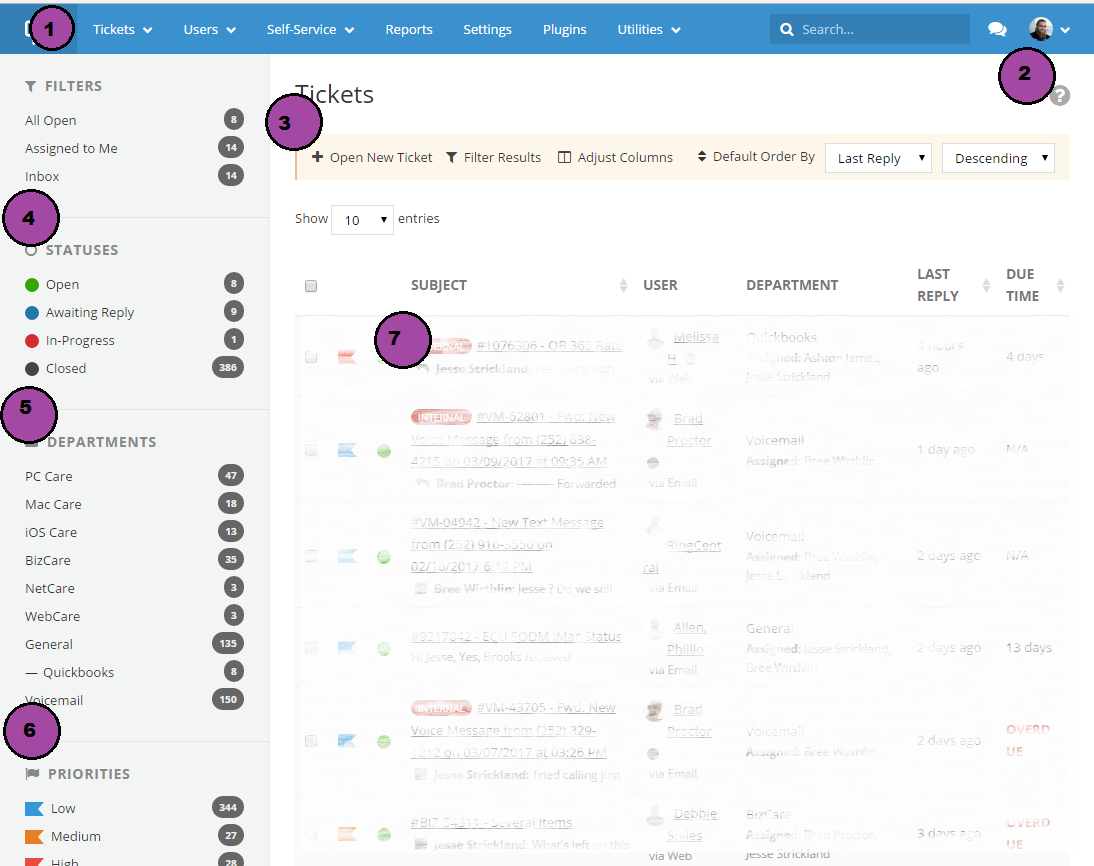
| Fig. 2: The default ticket view |
Starting at the top at #1 and work down:
- The header: Provides various navigation links to different sections of SupportPal.
- The user menu: Here you can logout and manage personal settings.
- Ticket Actions: Create new tickets or filter the current view to only show specific tickets.
- Statuses: A list of ticket statuses. Click on any status to show all tickets with the selected status.
- Departments: A list of departments you are in. Click on any department to show all tickets for that department.
- Priorities: A list of ticket priorities. Click on any priority to show all tickets with that priority.
- Ticket List: The list of tickets that fulfill the criteria based on the filters from numbers 3-6.
Creating a Ticket
Internal Ticket
For internal tickets such as those to HR, login to the ticket system and click Tickets → New Ticket from the menu at the top. Choose the appropriate department and click the “Internal Ticket” radio button to begin composing the ticket. When done, click “Submit”.
Ticket on customer’s behalf
When creating a ticket on behalf of a customer:
- Login to the ticket system and click Tickets → New Ticket from the menu at the top.
- Choose the appropriate department.
- Search for the user’s email in the email field. If one exists, you will be prompted to select the existing user tied to that email address. If multiple addresses exist, choose the first.
- If there are no results in the search box for that email address, click “New User” and fill in their contact information instead.
- Click Continue.
- Enter a brief subject and description of the reason for the creation of the ticket and click Submit.
- In the body, include customer contact details and the issue they’re experiencing, as well as the projected follow up time and person.
Viewing a Ticket
To view a ticket, simply click on it from the ticket list. You can also find direct links to individual tickets assigned to you from your dashboard in PCRT. The ticket view is broken into a common email-chain format, meaning each ticket reply is displayed in the order in which they were made. Ticket notes are an exception- all ticket notes appear at the top of the ticket, and also inline with ticket replies in the order in which they were made.
Aside from the standard email-style view, the two notable features when viewing a ticket are the lefthand pane that displays ticket information, and the message reply area; both of which will be addressed below.
Updating Ticket Information
While in the ticket view, you will see an informational panel that details information about the ticket being viewed. From here, you can update the ticket status, priority, and assigned operators as well as view information about who posted the ticket, and when. Some tickets have custom fields in this section, such as “Serial Number” or “PCID” or “WOID”. These custom fields can be used to tie a ticket to a customer or work order in PCRT, so use them when available.
After updating information in this section, press the “Save” button at the bottom.
Replying to Tickets
While in the ticket view, you can reply to a ticket in a way very similar to how you would to a standard email. Most of the formatting options are standard text-editing features and as such will not be touched on here. However, the section to the right of the message pane- “Reply Options”- allows you to both reply to a ticket and update various status-related features at the same time. For example, you can change the default status behavior (what the status will be after you reply), for this ticket only, by choosing a different option in the “Set Status” field, and then replying to the message.
Making Ticket Notes
Ticket notes are used to communicate internally. Ticket notes will never be seen by the customer.
To make a ticket note, click on the “Ticket Note” button at the top of the “Add Reply” section in the ticket view:
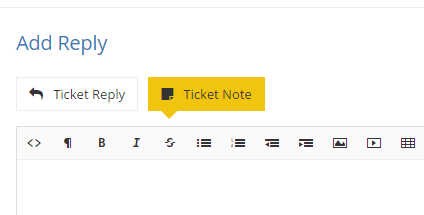
| Fig. 3: Adding a Ticket Note |
Ticket notes serve several important functions:
- By making a note, operators can communicate and collaborate on a ticket so that the entire conversation stays in one place.
- By default, ticket status is not changed when making a note.
- For collaborating on tickets that come from an automated source (such as Voicemail tickets from RingCentral), no email is sent back to the automated source when a ticket note is made.
Always use Ticket Notes when collaborating on a ticket from an automated source, such as Voicemail tickets. This ensures that both the ticket stays open until an operator explicitly closes it, and that the automated system (which is often a no-reply or unmonitored inbox) does not receive ticket email notifications.
Closing Tickets
When a ticket has been fully addressed and a final note or reply has been made addressing the resolution, you may close the ticket. You can use the “Set Status” field when replying to change the status to “Closed” instead of “Awaiting Reply”. For voicemail tickets, after leaving a note you can use the Status field in the info pane on the left to change the ticket status to Closed.
Additional Information
SupportPal has extensive documentation on how to use SupportPal. General questions can often be answered by consulting this documentation, here.