Scheduling In-store Service
This article covers how to schedule in-store appointments.
You will need to schedule in-store appointments via our online appointment scheduler.
Website Scheduling
When you go to our website to schedule an appointment you will land on a page similar to the one shown below.
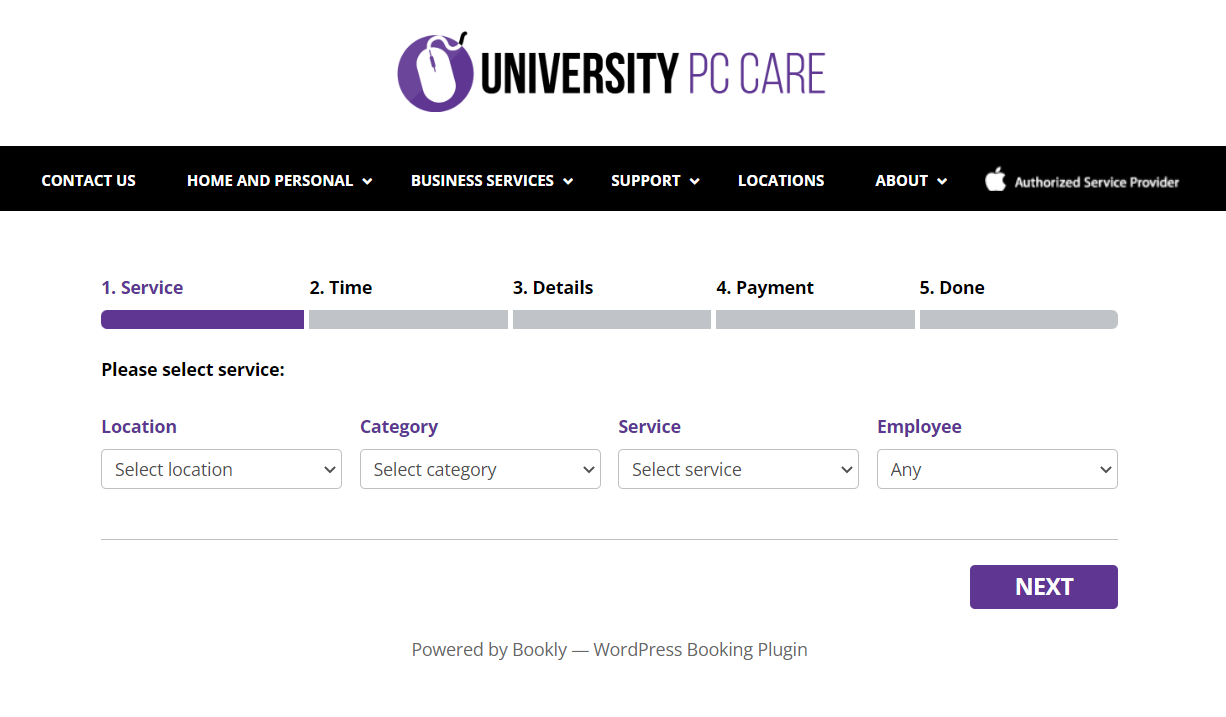
For in-store appointments, the location should be set to the store the customer is wanting to go to.
Category can be either of the following:
- PC for windows OS devices
- Mac for macOS devices
- iOS for mobile Apple devices
After selecting the appropriate category, you will use the following *Service *options for in-store appointments:
- For PC:
- In-store- PC: this is for drop off service only
- Quick Help In-store- PC: technicians will assist customers at the counter for a dedicated amount of time. If the issues require additional investigation, the device will be checked in for service.
- For Mac:
- In-store Mac: this is for drop off service only
- Quick Help In-store Mac: technicians will assist customers at the counter for a dedicated amount of time. If the issues require additional investigation, the device will be checked in for service.
- For iOS:
- iPad *
- Apple Watch *
- Apple TV *
- iPod * *
- iPhone Screen Repair * *
- iPhone Battery Replacement * *
- iPhone: this is reserved for all other issues
*We can perform software work in-store during the appointment, hardware issues require mail-in/carry-in WUR replacement. Apple does not currently offer parts replacements for this device type.
**Hardware repairs can be done the same day with an appointment so long as it does not get flagged for additional screening by Apple. Make customers aware of this possibility before scheduling.
After you have selected the service type, you can leave the Employee section as Any or select the option for Local Tech- _Store Location_. It is not necessary to specifically select this option as we only have one calendar for each service type. Whichever in-store technician is available or designated to that device type will handle the appointment when the customer arrives at the scheduled time.
Once you have these preliminary selections made, click the Next button. You will then be taken to the calendar showing you the available appointments for service.
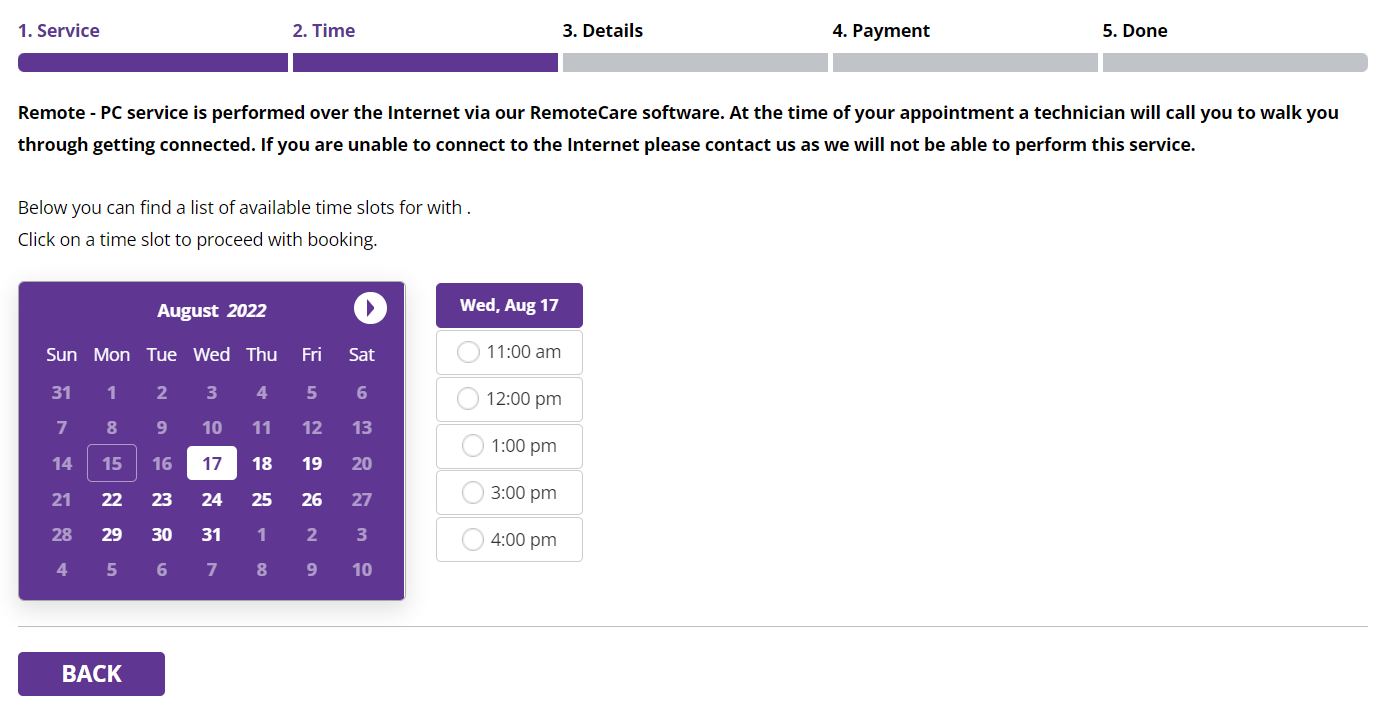
The calendar will show appointments available in the current month. If the customer is requesting to schedule an appointment for the following month, click the round arrow button at the top right of the calendar to view the next month’s available appointments. The calendar will only show 30 days of appointments from the date you are currently on. If they need something scheduled further out they will need to call back or schedule on their own at a later time.
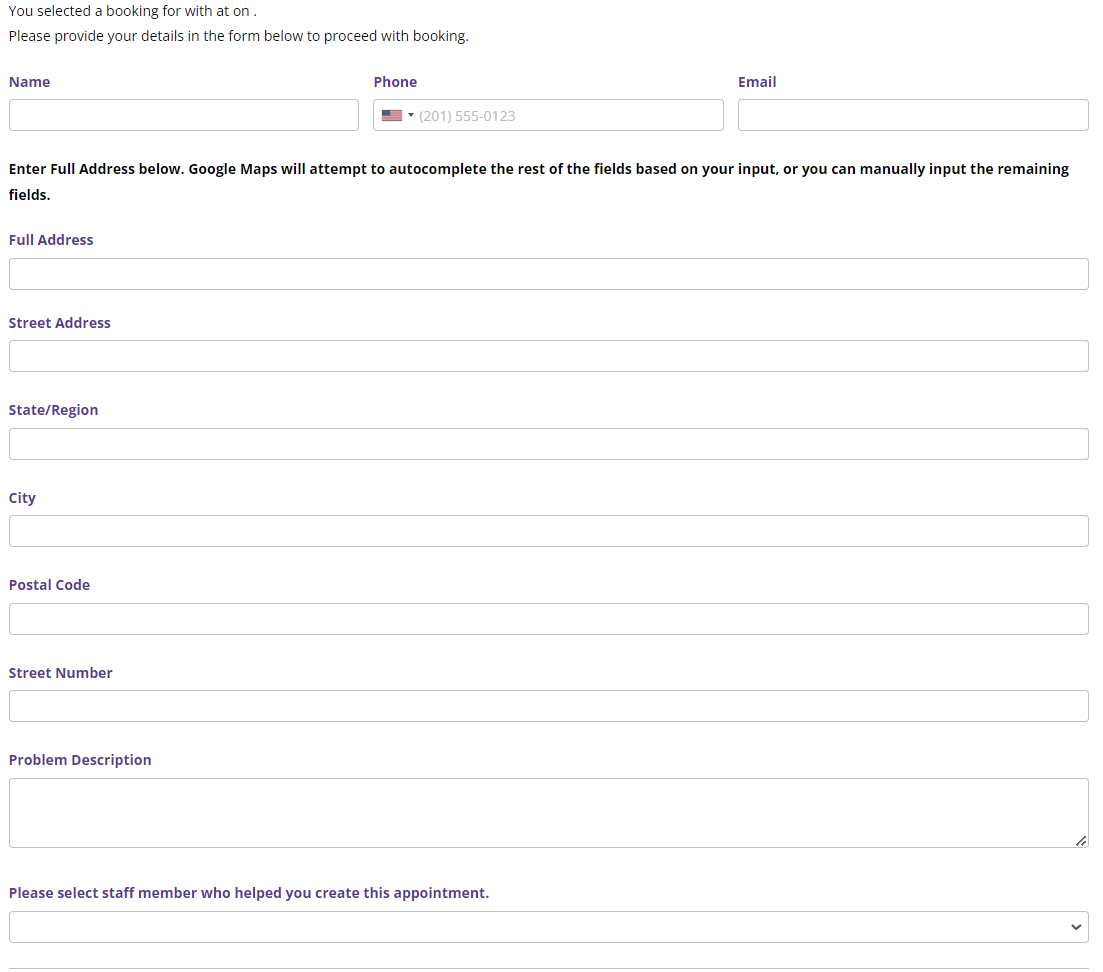
Once you and the customer have settled on the date and time they would like to have service, click on the time. This will take you to the appointment information page similar to the image below.
For iOS appointments, the page will look similar to the image below:
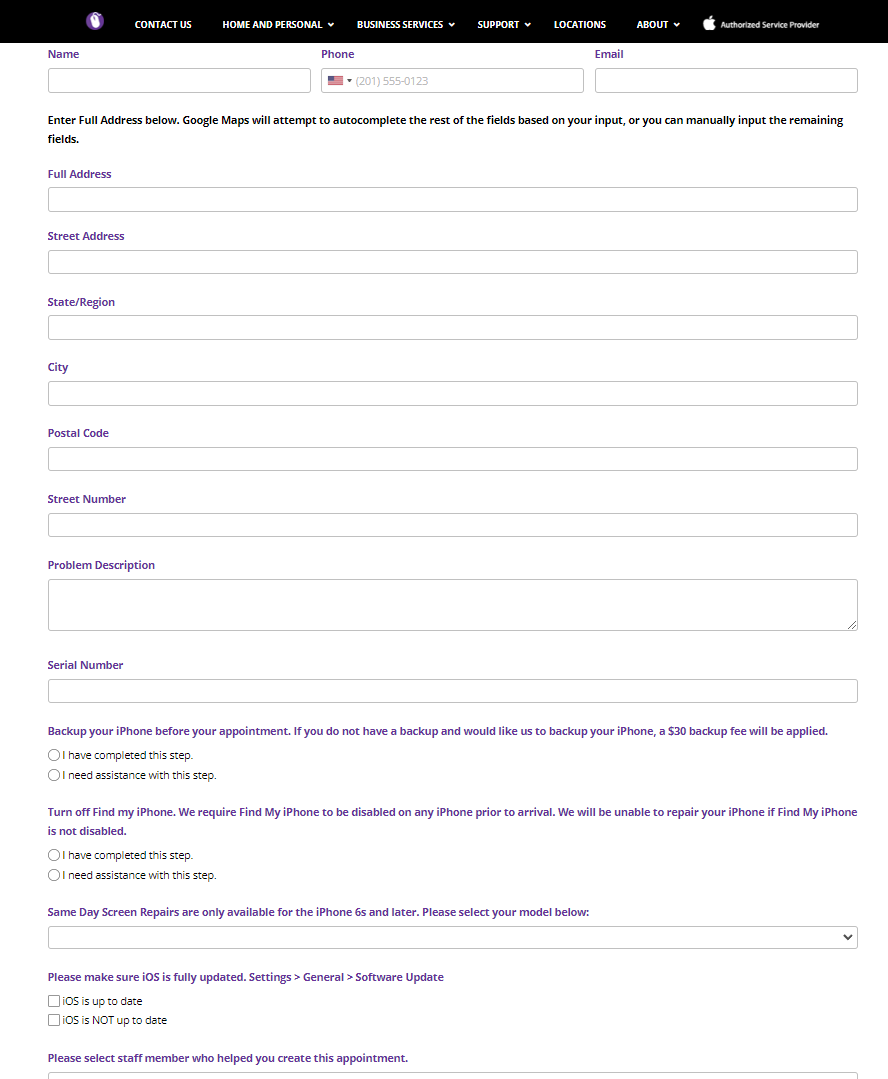
It is important to note, knowing the model iPhone that is going to be worked on is very important. It helps technicians prepare in advance for the appointment and can change the resources used to complete services. There are also additional items that need to be addressed with the customer while making iOS appointments such as it being required that Find My be deactivated before any repairs can be performed per Apple Policy as well as the importance of doing a backup prior to any service.
Be sure to fill in all the customer information. Double check the information entered as this is how we will contact the customer during the scheduled appointment.
Be clear when entering the problem description. For example, if the customer states the device has been running slow, ask some clarifying questions such as _when do you notice the device is at its slowest_ or _are you doing anything specific when you notice it being slow_? Then add the description appropriately based on their answers i.e., _device slow on start up_.
DO NOT leave the description blank or lacking information. For example, if the customer says their machine is not working, ask them clarifying questions. If they are unable to answer your questions or refuse to provide some description of the issue, use something along the lines of *_cx unable to provide specifics, troubleshoot based on tentative description_. *
For _“Please select staff member who helped you create this appointment”_, find your name on the list. If your name is not listed, select the corporate admin and send a message to Jesse S. (Vice President, IT) to update the website.
Click, Next to complete scheduling the appointment. If the appointment has been created you will be taken to a Thank You page as shown below. If you are taken back to the calendar, the appointment is no longer available and another date or time needs to be selected and the information reentered.
Stay on the line with the customer until you get to the above screen. This will allow you to confirm the appointment has been scheduled or speak with the customer if you need to select another appointment time. This prevents you having to call the customer right back after disconnecting the call.