External Procedure - Using SupportPal
This procedure will lay out the basic usage of SupportPal, the ticketing software we use at University PC Care to handle communication with customers.
Login
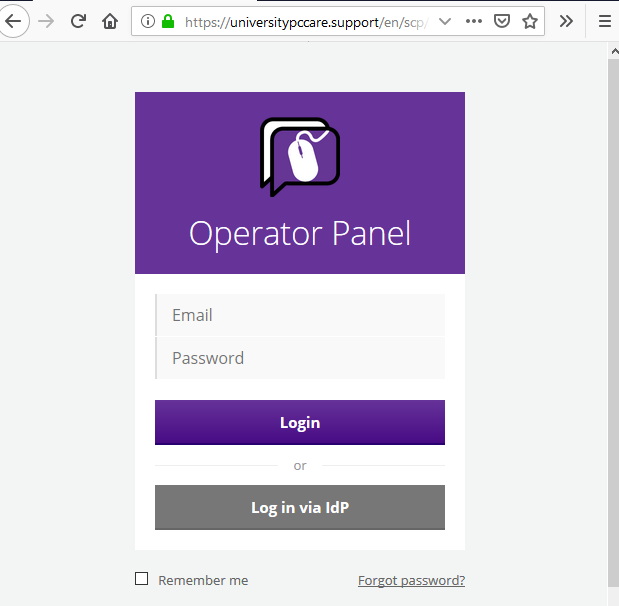
Navigate to https://universitypccare.support/scp. You will be presented with the login page.
The username is helpdesk@universitypccare.com and the password should have been shared with you separately.
View existing tickets
After logging in, use the menu bar at the top to navigate to Tickets → Manage Tickets. You will be taken to the ticket overview page, where you will be able to view all currently open tickets for each department to which you have access.
Update or close existing tickets
If a resident is calling in to make changes to or cancel an existing request:
- Navigate to Tickets → Manage Tickets.
- Find the open ticket for the resident, click on the ticket subject to view it.
- Under the “Add Reply” section, switch your reply type from “Ticket Reply” to “Ticket Note”. Ticket replies are visible to customers -- ticket notes are not.
- Add your ticket note.
- If you are only updating the request, be sure that the “set status” option is set to “Open” under “Reply Options”. If you are canceling the request, change the “set status” option to “Closed”.
- If you are using a mobile device or you have SupportPal open in a small window, “Reply Options” section may be collapsed and placed above the “From” and “To” fields under “Add Reply”.
Open new ticket
Begin by navigating to Tickets → Open New Ticket from the navigation bar at the top of SupportPal. From here you will be able to choose the department, ticket type, and user.
- Department: The department in which the ticket will be opened. For Cypress Glen residents, this will always be “Cypress Glen”. If you are handling a NetCare or BizCare call, use the respective department. (Note: You will not be able to view NetCare or BizCare tickets after they’ve been created).
- Ticket Type: “User Ticket” will be used to open a ticket on behalf of a user. “Internal ticket” should only be used if it is necessary to communicate with University PC Care for a non-urgent, non-customer related issue (such as issues with the ticketing system itself).
When creating a user ticket, start by searching for the customer’s name in the “Search for user…” box. If a match is returned for the customer’s name, verify that the email address (also returned with the search results) is correct. If so, choose that user. Otherwise, click “New User” and enter the customer’s first name, last name, and email and “Cypress Glen” for the Organization.
On the “Enter Details” screen, enter a Subject that briefly describes the customer’s issue and a short 1-3 sentence Message with any additional details, then click “Submit” to finalize creation of the ticket.
Escalation
After creating a ticket, follow the Escalation List to determine if further escalation is necessary.